Remy clip-in hair extensions have revolutionized the beauty industry, offering a convenient and non-permanent solution to achieve longer, fuller, and more voluminous hair. Whether you're preparing for a special event, looking to change your everyday look, or just want to add some extra length, Remy clip-ins provide an easy way to transform your hair without any long-term commitment. However, to make the most of these extensions and ensure they last, it's essential to style and care for them properly. This step-by-step guide will walk you through the process of styling, maintaining, and prolonging the life of your Remy clip-in hair extensions.
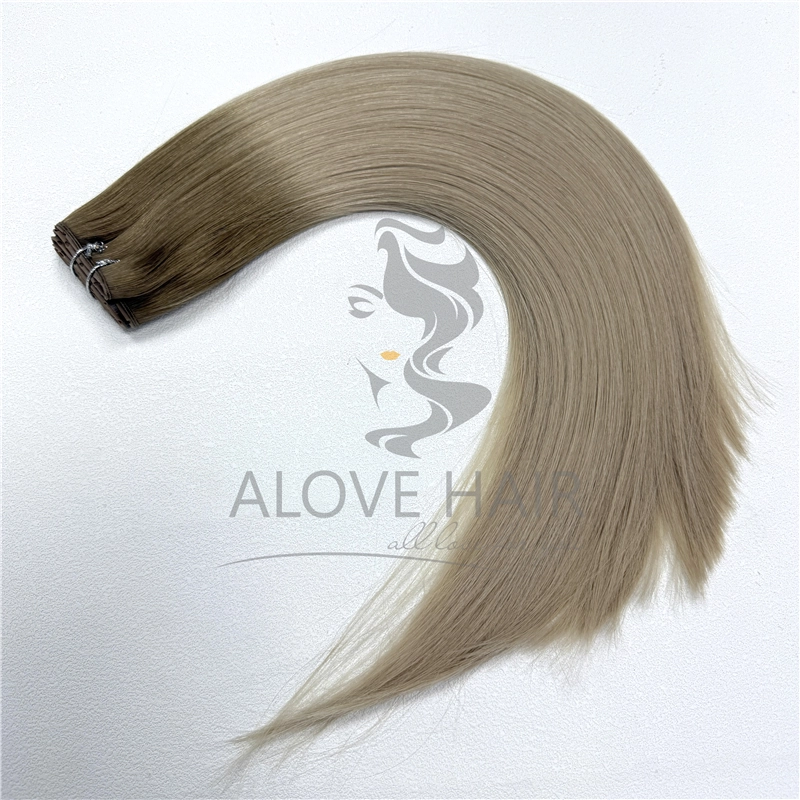
What Are Remy Clip-In Hair Extensions?
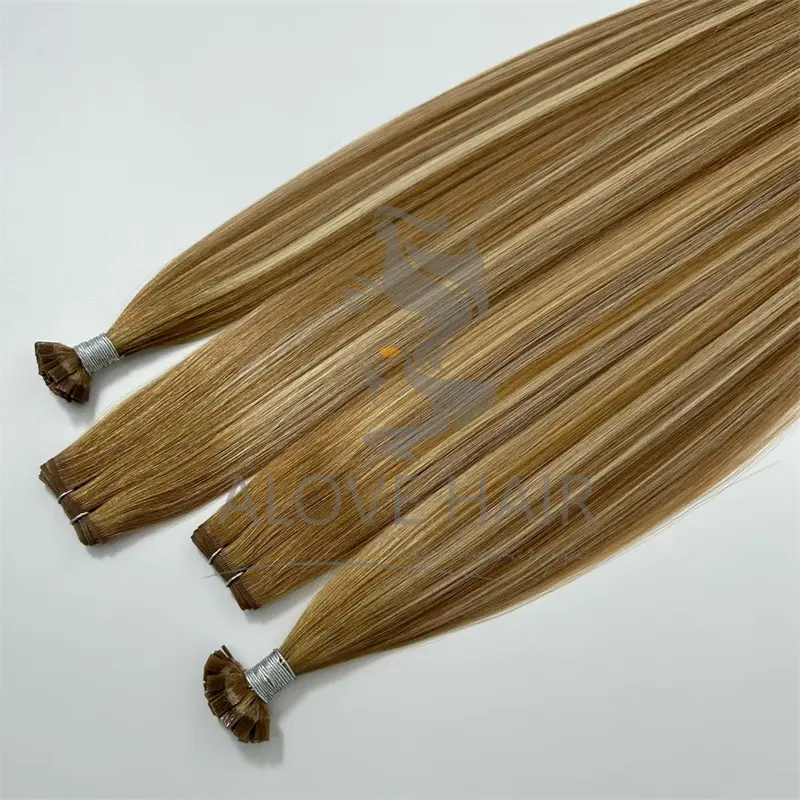
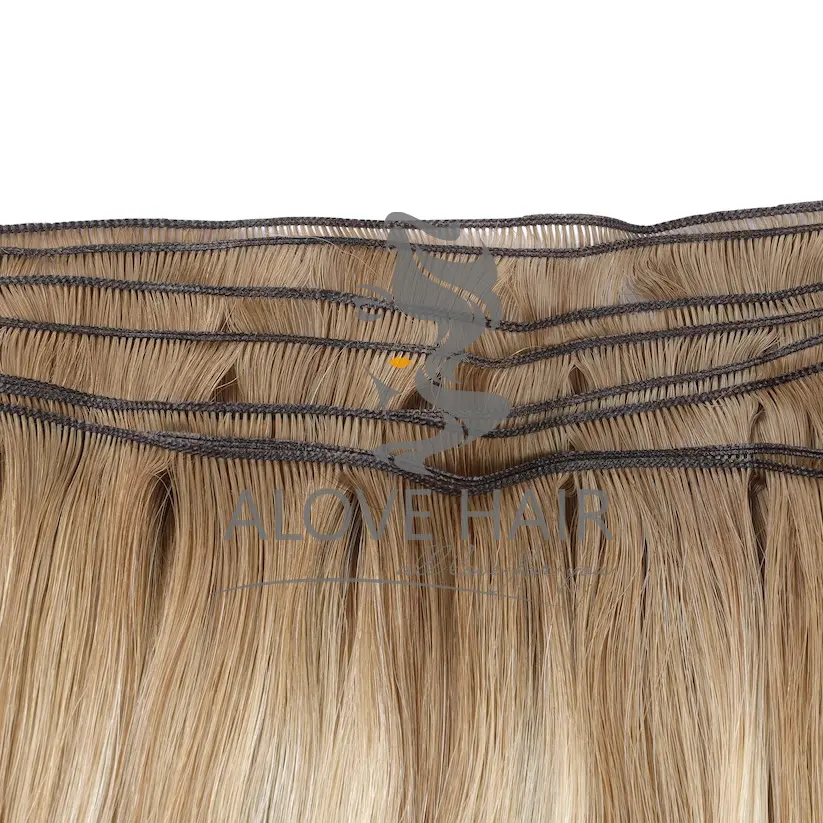
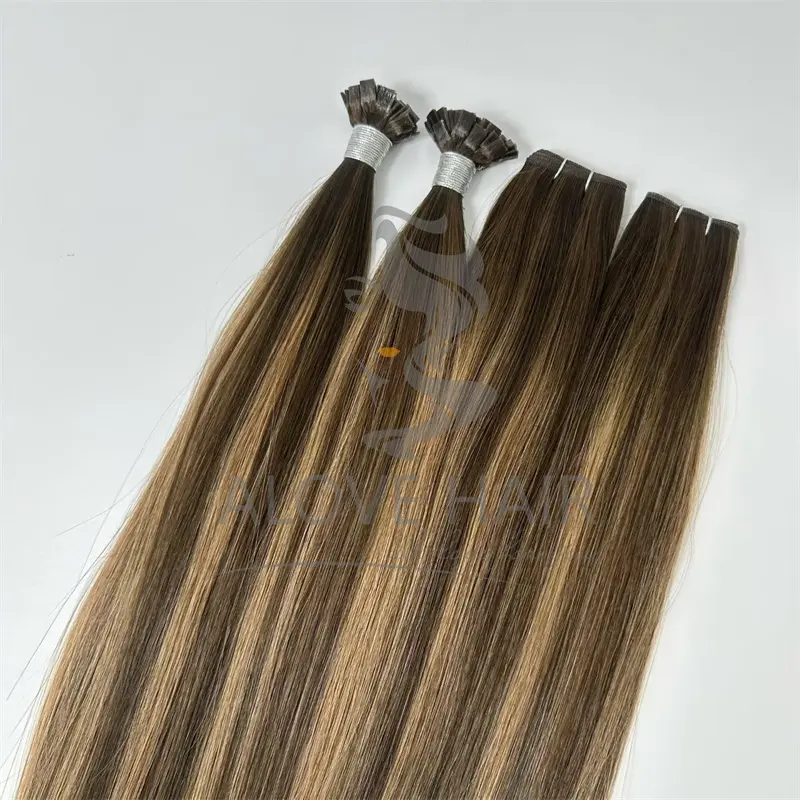
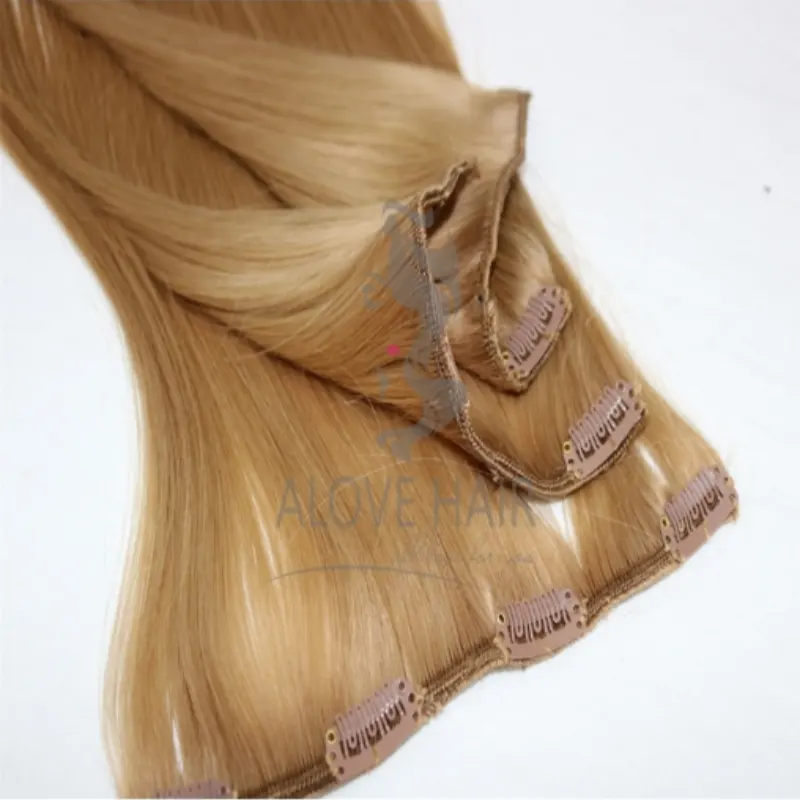
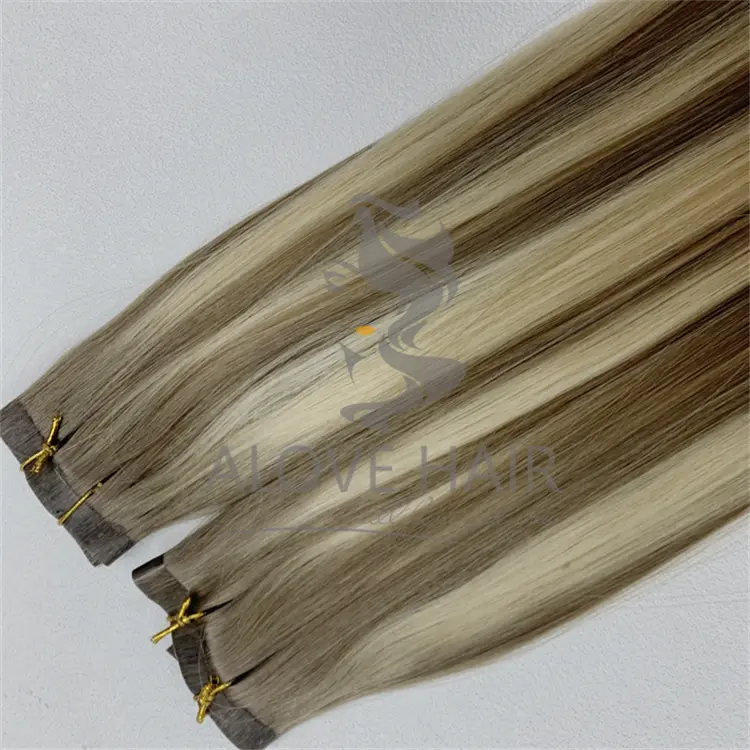
Before diving into the styling and care tips, it’s important to understand what Remy hair is and why it’s considered one of the best options for hair extensions. Remy hair refers to 100% natural human hair that has been carefully collected so that the cuticles remain intact and aligned in the same direction. This results in hair that is smoother, shinier, and less prone to tangling compared to non-Remy hair. Additionally, Remy clip-in extensions are designed with individual clips that allow you to quickly and securely add volume and length to your natural hair.
Why Choose Remy Clip-In Extensions?
Remy clip-in extensions are a popular choice because they offer numerous benefits:
Natural Look and Feel: Since the hair is human, it blends seamlessly with your natural hair, giving you a more authentic look.
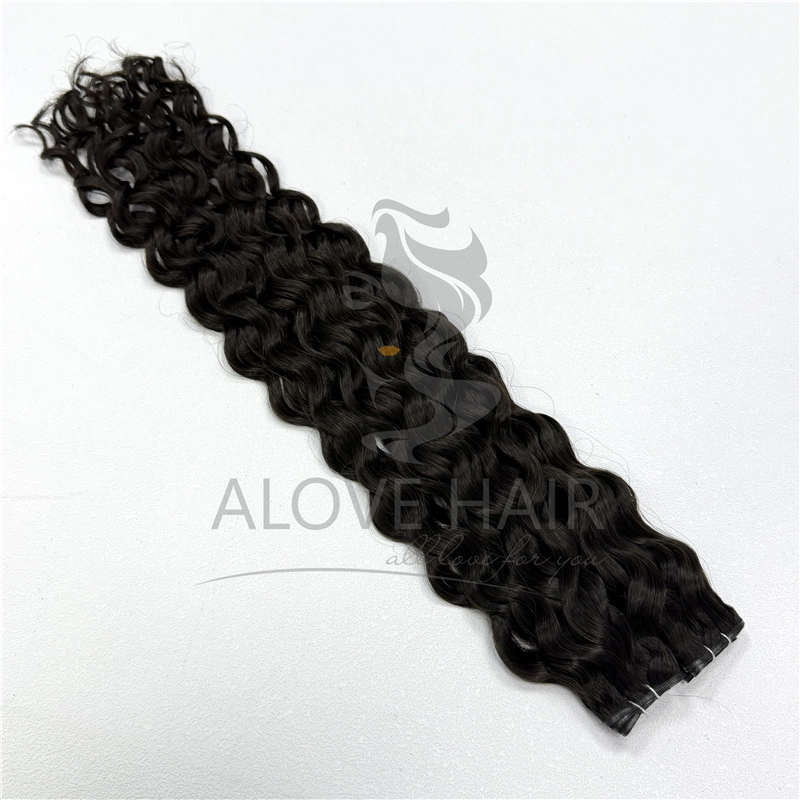
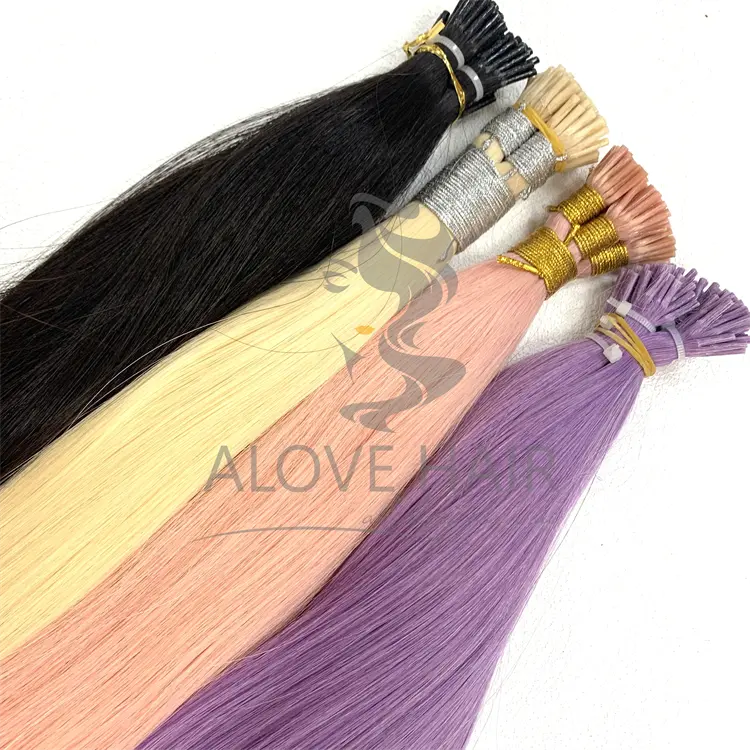
Versatility: You can style Remy clip-in extensions just like your natural hair, whether you prefer straight, wavy, or curly styles.
Ease of Use: With clip-in extensions, you can instantly add volume and length in minutes without the need for professional help.
Long-Lasting: Properly cared for, Remy hair extensions can last for months, making them a worthwhile investment.
Step 1: Preparing Your Hair for Clip-In Extensions
Before applying your Remy clip-in extensions, it’s essential to prepare both your natural hair and the extensions to ensure a flawless result.
Wash and Condition Your Hair: Start by washing and conditioning your natural hair with a sulfate-free shampoo and a moisturizing conditioner. Clean hair provides a better foundation for the clip-ins to stay in place and blend more naturally.
Dry and Detangle Your Hair: Once your hair is clean, gently towel-dry it, removing any excess moisture. Then, use a wide-tooth comb or a detangling brush to remove knots and tangles from your natural hair. It’s important to have smooth hair to ensure that the clip-in extensions can be applied easily.
Prepare Your Extensions: Before you start clipping in the extensions, ensure that they are clean and tangle-free. Gently comb through the hair extensions with a wide-tooth comb or a finger to remove any knots.
Section Your Hair: To make the application process easier, section your natural hair into several layers using clips. This will give you more control and ensure that the extensions are applied evenly.

Step 2: Applying Your Remy Clip-In Hair Extensions
Once your natural hair is ready, it’s time to clip in the extensions. Here’s how to do it step-by-step:
Start at the Nape of Your Neck: Begin by applying the clip-in extensions at the bottom layer of your hair, just above the nape of your neck. Take a small section of hair, backcomb it slightly (for extra grip), and then clip in the extension securely.
Work Your Way Up: Continue working your way up the sections of your hair, applying the clip-ins layer by layer. Make sure that each extension is placed evenly and securely before moving to the next section. Use a mix of single, double, or triple clip-in wefts, depending on how much volume you want to achieve.
Blend the Extensions with Your Natural Hair: After clipping in all the extensions, gently comb through your hair with a brush or your fingers to blend the extensions seamlessly with your natural hair. Be careful not to pull or tug too hard, as this can damage both your natural hair and the extensions.
Check for Visible Clips: Run your fingers through your hair and check for any visible clips. If necessary, add a bit of hairspray to the roots and gently tousle your hair to hide any noticeable clips.

Step 3: Styling Your Remy Clip-In Hair Extensions
Once your clip-ins are securely in place, it’s time to style them. Because Remy hair extensions are made from real human hair, they can be styled just like your natural hair. Here are a few styling ideas:
Straight Styles: If you love sleek, straight hair, use a flat iron to smooth out both your natural hair and the extensions. Be sure to use a heat protectant spray to prevent any heat damage to the extensions.
Loose Waves: For a more relaxed, beachy look, use a curling iron or wand to add loose waves. Curl the extensions and natural hair together to ensure they blend seamlessly.
Curls: To achieve voluminous curls, use a curling iron with a smaller barrel size. Wrap small sections of hair around the iron and hold for a few seconds before releasing. This will create soft, bouncy curls that last all day.
Updos and Braids: Remy clip-in extensions can also be used to create beautiful updos or braids. Simply clip in the extensions and style as you would with your natural hair. Whether it's a messy bun, fishtail braid, or elegant chignon, the extensions will add the extra volume and length you need to make your style stand out.
Step 4: Caring for Your Remy Clip-In Hair Extensions
Proper care is key to ensuring that your Remy clip-in hair extensions stay looking great for as long as possible. Here’s how to maintain them:
Washing: While Remy hair is durable, it still requires proper care. Wash your clip-in extensions every 8-10 wears, or when they start to feel oily or dirty. Use a sulfate-free shampoo and a moisturizing conditioner. Avoid washing your extensions too frequently, as it can lead to dryness.
Drying: After washing your extensions, gently pat them with a towel to remove excess moisture. Never wring or twist the hair, as this can cause damage. To dry, hang the extensions on a hook or lay them flat on a towel and let them air dry. Avoid using heat to dry the extensions, as this can cause the hair to lose its natural texture and shine.
Combing and Brushing: To avoid tangling, gently comb or brush the extensions with a wide-tooth comb or a special extension brush. Start from the tips and work your way up to the roots. Never pull or tug on the hair, as this can cause breakage.
Storage: When you're not using your clip-in extensions, store them in a cool, dry place. You can keep them in the original packaging or hang them on a hook to prevent tangling. Never leave them in a damp area, as this can lead to mold and mildew growth.
Avoid Excessive Heat: While Remy clip-in extensions can be styled with heat tools, it’s important to use them in moderation. Always apply a heat protectant spray to the extensions before using a flat iron, curling iron, or blow dryer. Overusing heat tools can lead to dryness and damage over time.

Step 5: Removing Your Remy Clip-In Hair Extensions
Removing your clip-in extensions is just as important as applying them. To avoid damage to both your natural hair and the extensions, follow these steps:
Unclip the Extensions: Starting from the top, gently unclip each section of your clip-in extensions. Be careful not to tug or pull on your natural hair when removing the clips.
Store the Extensions Properly: After removal, store your clip-in extensions as mentioned earlier to ensure they stay in good condition until their next use.
Conclusion
Remy clip-in hair extensions are an excellent way to add volume, length, and style to your hair. By following these steps for application, styling, care, and removal, you can enjoy beautiful, natural-looking hair every time you wear them. Whether you’re getting ready for a big event or just want to enhance your everyday look, Remy clip-ins are a versatile and convenient solution for anyone seeking to transform their hair. With the right care and maintenance, your Remy clip-in extensions will continue to look stunning for months, helping you achieve flawless hair with ease.
906.webp)