"Struggling to make Halo extensions look natural with short or fine hair? You’re not alone! Many women with shorter lengths or thinner strands face the same challenge—how to blend extensions seamlessly without obvious gaps, bulky wefts, or slipping. Unlike longer, thicker hair that easily disguises extension tracks, short or thin hair requires extra care to create that flawless, 'is-this-even-real?' look."
The main obstacle? Concealing the Halo weft (the invisible wire that sits on your head). With short hair, you might lack enough length to cover it completely, risking a visible "ridge." For thin hair, the natural hair’s fragility can make extensions slip or appear unnaturally dense. Add texture mismatches (like pin-straight extensions on wavy hair), and the struggle gets real.
But here’s the good news: It’s absolutely possible to nail the blend. Whether you’re rocking a bob, growing out a pixie, or dealing with fine strands, this guide reveals dermatologist-approved prep steps, salon-tested styling tricks, and common mistakes to avoid. You’ll learn:
How to anchor Halo extensions so they stay put (even on silky-thin hair).
Cutting and layering hacks to match your natural hair’s movement.
Affordable products (like texturizing sprays and grip headbands) that make all the difference.
"With these pro tips, you’ll achieve a seamless, undetectable look—no matter your hair type!" No more worrying about windy-day mishaps or awkward "hair helmet" moments. Just effortless length and volume, tailored to your hair’s unique needs.
Ready to transform your Halo game? Let’s dive in.
Prep Work: Setting the Stage for Flawless Halo Extensions
The secret to perfectly blended Halo extensions lies in meticulous preparation and smart extension selection. Whether you're working with short strands or fine, thin hair, taking time to properly prepare will make all the difference in achieving that coveted natural, undetectable look. Let's dive into the essential prep steps that will transform your extension experience.
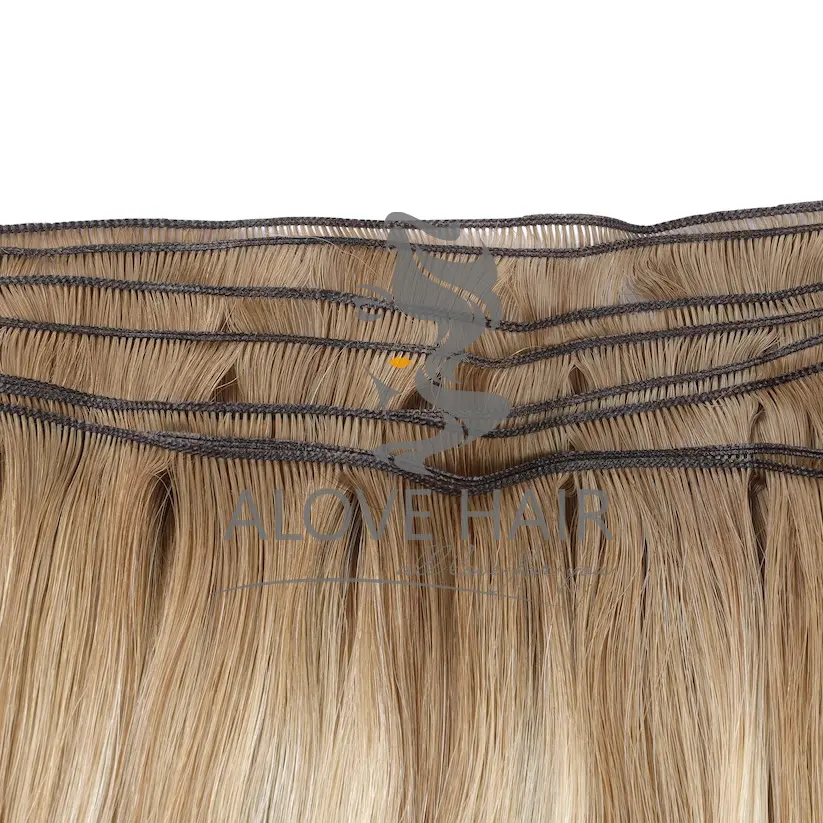
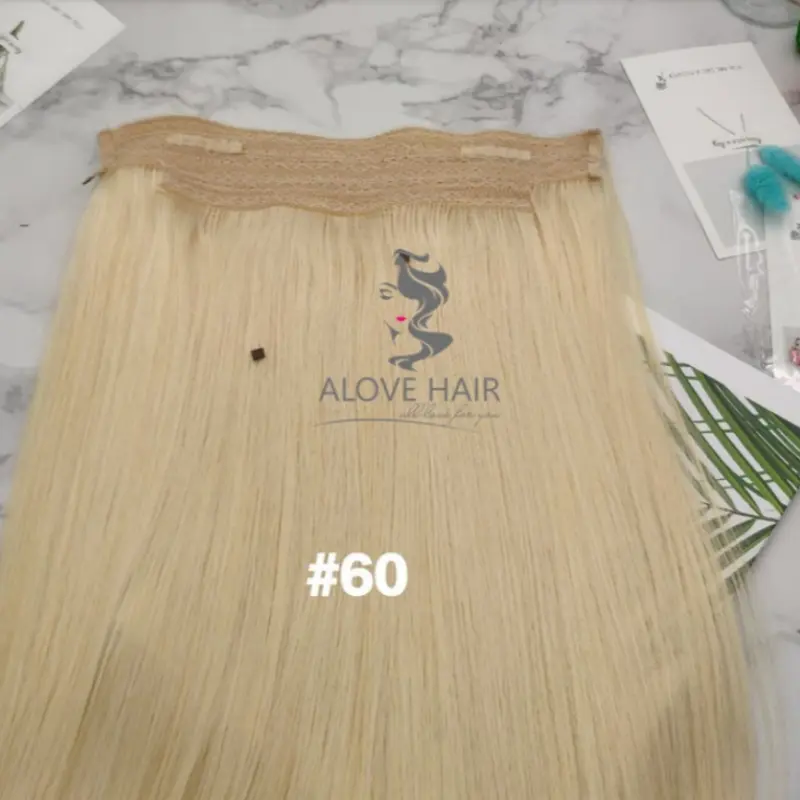
Choosing the Right Halo Extensions
Not all hair extensions are created equal—especially when dealing with short or thin hair. The wrong type can leave you with bulky, obvious results or frustrating slippage. Here's how to pick the perfect match:
For Short Hair:
If your hair falls above your shoulders, standard long extensions (20+ inches) will look unnatural and overwhelm your face. Instead:
Opt for shorter lengths (14–18 inches) to maintain proportion.
Choose layered styles—these blend better with shorter natural hair and create movement.
Consider tape-in or clip-in alternatives if your hair is very short (pixie length), as these offer more precision in placement.
For Thin Hair:
Fine hair requires lightweight solutions that won’t weigh down your natural strands or expose the weft. Look for:
Lightweight, thin wefts—bulky tracks will be obvious and uncomfortable.
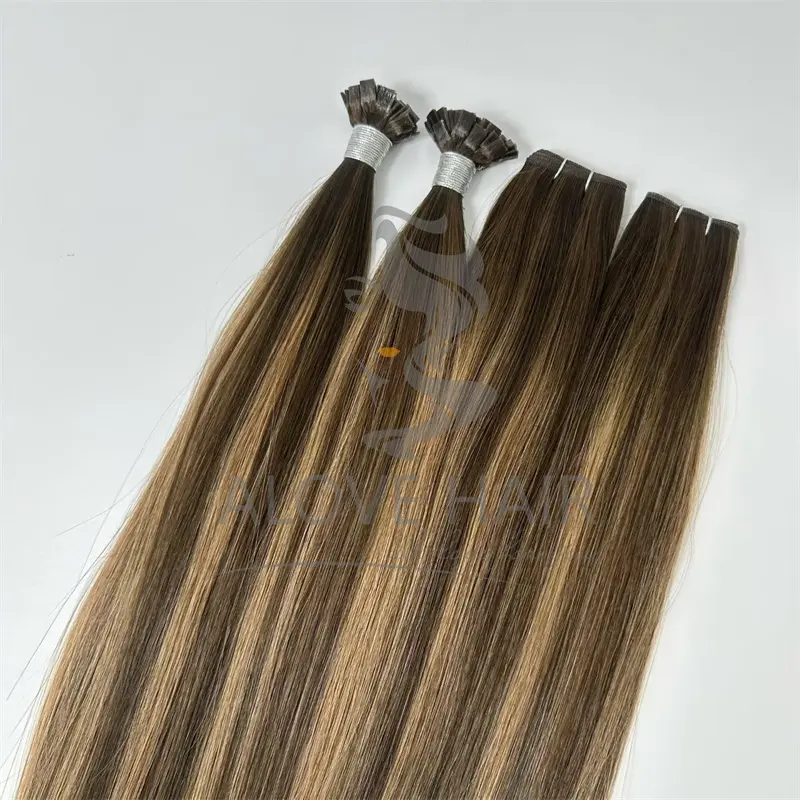
100% Remy human hair—synthetic hair often looks unnaturally shiny and doesn’t blend well with fine textures.
Lighter density—avoid overly thick extensions that create an unnatural contrast with your natural hair.
Color Matching: The Make-or-Break Factor
Even the best extensions will look fake if the color is off. Here’s how to nail the match:
Match at the mid-lengths—your roots and ends may vary due to sun exposure or dye, but the mid-shaft is the truest shade.
Blend highlights or ombre—if your hair has dimension, opt for extensions with subtle highlights or balayage for a seamless transition.
Test in natural light—indoor lighting can distort colors, so always check in sunlight before committing.
Prepping Your Natural Hair
Once you’ve chosen the perfect extensions, it’s time to prep your natural hair for flawless blending. Skipping this step can lead to slippage, visible wefts, or an uneven finish.
Step 1: Wash and Condition (But Skip the Heavy Products)
Use a clarifying shampoo to remove buildup, which can make extensions slip.
Avoid heavy conditioners near the roots—they can weigh down fine hair and reduce grip.
Blow-dry for volume—focus on lifting the roots with a round brush for extra body.
Step 2: Tease for Grip
Lightly backcomb the crown area where the Halo wire will sit—this creates a "cushion" for the weft to grip onto.
Avoid over-teasing thin hair—gentle teasing is enough; aggressive backcombing can cause breakage.
Step 3: Boost Volume at the Roots
Apply a volumizing mousse or spray before styling—this gives fine hair extra body to blend with extensions.
Dry shampoo is your friend—a light spritz at the roots adds texture and hold.
Pro Tip: The Silicone Grip Hack
If your hair is super fine or silky, consider using a silicone wig grip band under your Halo extensions. This prevents slipping and keeps everything secure all day.
Final Prep Checklist
✅ Extensions: Short/layered for bobs, lightweight for fine hair.
✅ Color: Perfectly matched (test in sunlight!).
✅ Hair Prep: Clarifying wash, light teasing, root volume boost.
With these steps, your Halo extensions will blend like a dream. Next up: Step-by-step application techniques!
Step-by-Step Blending Techniques for Short & Thin Hair
Achieving a natural blend with Halo extensions requires different approaches for short versus thin hair. Follow these detailed, salon-approved techniques to create seamless, undetectable results every time.
A. For Short Hair: The Art of Disguising the Weft
When working with shorter lengths (chin-length to shoulder-length), the challenge lies in covering the Halo wire without sacrificing volume or creating obvious lines.
Create a "Buffer Layer"
Before placing your Halo extension, leave out 1–2 inches of hair at the crown (the area where the wire sits).
This reserved section will later be styled over the weft to conceal it completely.
Pro tip: Clip the top section up with a jaw clip to keep it separate during application.
Tease the Crown for Maximum Grip
Take small horizontal sections at the roots where the Halo will rest.
Using a fine-tooth comb, gently backcomb each section to create texture and friction.
Avoid over-teasing – you want just enough texture to anchor the wire without causing tangles.
Strategic Bobby Pin Placement
Once the Halo is positioned, secure it by sliding 2-3 bobby pins horizontally through the weft and into your teased hair.
Insert pins at an upward angle so they grip both the weft and your natural hair.
Hide pins by covering them with the reserved "buffer layer" of hair.
Bonus for Bobs: If you have a blunt cut, lightly point-cut the ends of your extensions to mimic your natural haircut.
B. For Thin Hair: Creating Illusion of Density
Fine hair requires special attention to prevent extensions from looking obvious or overwhelming your natural strands.
Modify the Halo Wire for a Snug Fit
Use needle-nose pliers to gently flatten the wire's curve, allowing it to sit closer to your head.
This prevents gaps that can expose the weft when hair moves.
Important: Wrap the pliers in tissue first to avoid damaging the wire's coating.
Custom Cutting for Seamless Layers
Install the extensions first, then blend by cutting:
Focus on face-framing pieces around your cheeks and jawline for the most natural effect.
Separate your natural hair and extensions into vertical sections
Hold both together between your fingers at a 45-degree angle
Snip into the ends to create soft, blended layers
Texture is Your Best Friend
Curl or wave both your natural hair and extensions together using a 1-inch barrel iron.
Alternate curl directions for lived-in texture.
For ultra-fine hair: Try braid waves – braid damp hair overnight for subtle texture that helps camouflage the weft.
Pro Application Tip:
After blending, mist a texturizing spray (like Oribe Dry Texturizing Spray) at the roots and mid-lengths. This creates uniform texture while adding grip – especially helpful for silky hair types.
Troubleshooting Common Issues
Problem: Weft visible at crown?
Fix: Add a crimped root section – just tease and lightly crimp 1-inch vertical sections above the weft.
Problem: Extensions slipping?
Fix: Apply a dot of eyelash glue to the Halo wire's ends before placing – it dissolves easily with oil-based remover.
Problem: Halo feels tight?
Fix: Gradually bend the wire outward over several days to customize the fit.
Why These Techniques Work
Short hair methods focus on optical illusion – using every millimeter of length to disguise the mechanics.
Thin hair solutions prioritize weight distribution and texture matching to avoid the "heavy top" effect.
All steps are heat-free friendly (except optional curling) to protect delicate strands.
Next Up: Styling hacks to perfect your blend!
Styling Hacks to Enhance Blending: Pro Tricks for Undetectable Extensions
Even with perfectly placed Halo extensions, a few strategic styling tricks can take your look from "pretty good" to "is that really your hair?" These professional techniques help disguise the weft while adding personality to your style.
1. Half-Up Styles: The Ultimate Distraction
Ponytails & Buns: A mid-height half-up style lifts hair away from the weft while keeping it covered. For extra security:
Tease the crown lightly before gathering
Wrap a thin section of hair around the base to conceal the elastic
Decorative Clips & Barrettes: Place embellished clips where the Halo wire sits to:
Add stylish flair
Provide subtle downward pressure that keeps the weft in place
2. Headbands & Scarves: Functional Fashion
Wide Headbands (3-4"): The #1 choice for hiding the transition line
Fabric headbands with silicone grips work best
Position just behind the hairline to cover the wire completely
Silk Scarves: Tie in a low knot at the crown to:
Conceal the weft
Protect hair from friction damage
Bonus: Helps blend grown-out roots
3. Root Touch-Up Magic
Powder Sprays: Like Boldify or Color Wow, applied at the part to:
Camouflage slight color mismatches
Fill in sparse areas where skin might peek through
Dry Shampoo: Not just for oil - the texture helps blend extension thickness
Focus on the "halo zone" where extensions meet natural hair
Pro Tip: Combine these! A headband + half-up ponytail + root spray creates triple insurance against visible wefts while looking intentionally stylish.
Why These Work:
• Distraction theory - eye goes to accessories, not hairline
• Physical coverage - creates literal barriers over trouble spots
• Multi-functional - solves blending while upgrading your style
Perfect For:
✓ Windy days
✓ Special events
✓ Those "I need to look perfect in 5 minutes" moments
Common Mistakes to Avoid With Halo Extensions for Short/Thin Hair
Even with quality extensions, these frequent errors can ruin your seamless look. Here's how to spot and fix them:
Mistake #1: Placing the Halo Too Far Forward
❌ Problem: Creates unnatural bulk at the hairline and makes the weft visible from the side.
✅ Fix: Position the wire 1.5 inches behind your natural hairline, aligning it with the tops of your ears for balanced distribution.
Mistake #2: Ignoring Texture Matching
❌ Problem: Pin-straight extensions with wavy natural hair creates a stark "helmet effect."
✅ Fix: Always style extensions with your natural hair using the same tools/techniques. For mismatched textures:
Use a flat iron or curling wand on both
Apply a texture spray to unify finishes
Mistake #3: Over-Teasing Thin Hair
❌ Problem: Aggressive backcombing weakens already delicate strands, causing breakage.
✅ Fix: Instead of teasing:
Use velcro rollers at the crown for lift
Try a light-hold texturizing powder at roots
Opt for a silicone wig grip instead of relying on friction
Bonus Tip: Never sleep with your Halo in—the pressure against thin hair can cause traction damage over time.
Halo Hair Extensions FAQ: Expert Answers for Short & Thin Hair
Q1: Can you use Halo extensions with pixie-cut hair?
A: Absolutely! While traditional placement can be tricky, try these adaptations:
Style in updos (high ponytails or buns) where the weft gets hidden in the gathered hair
Use mini clip-ins at the nape to add length before applying the Halo
Pro Tip: A textured, piecey style helps disguise any blunt edges
Q2: Do Halo extensions slip with fine hair?
A: They can, but these solutions lock them in place:
Silicone wig grip headbands (the #1 slip-stopper)
Double-sided wig tape (apply 1" strips where wire touches temples)
Dry shampoo at roots for instant grip (avoid aerosol near the wire)
Bonus: Look for Halo brands with adjustable tension wires
Q3: How to make extensions look thicker at the crown?
A: Combat flatness with these tricks:
Double-weft Halos – Two thin layers instead of one thick one
Strategic clip-ins – Place 2-3 clip pieces around the parietal ridge
Backcomb alternatives – Use:
Hair fibers (Toppik) at the part
Volumizing spray foam before blow-drying
Q4: Can I heat-style my Halo extensions daily?
A: Yes, but protect them:
Lower heat settings (max 350°F for human hair)
Always use heat protectant (try Olaplex No. 9)
Alternative: Opt for heat-free waves like robe tie curls
Q5: How often should I wash Halo extensions?
A: Far less than your natural hair:
Every 15-20 wears for optimal longevity
Use sulfate-free shampoo focused on mid-lengths to ends
Exception: Wash immediately after swimming/sweating
Conclusion: Your Perfect Halo Hair Awaits
Mastering Halo extensions with short or thin hair comes down to three essentials:
1️⃣ Smart Prep – Choose lightweight, properly matched extensions and prep your natural hair with texture and volume
2️⃣ Precision Placement – Position the wire correctly, use grip-enhancing tricks, and customize the fit
3️⃣ Strategic Styling – Employ blending techniques like layers, texture sprays, and accessory camouflage
With these pro methods, you’ll enjoy:
✓ Undetectable length and volume
✓ All-day comfort and security
✓ Confidence in any weather or activity
Professional Halo Extensions Wholesale
As a leading Halo hair extensions manufacturer and wholesaler, we offer:
100% Remy human hair in customizable lengths/colors
Ultra-lightweight wefts perfect for fine hair
Adjustable wire technology for no-slip wear
Contact us for:
→ Bulk pricing
→ Private label options
→ Style consultations
Email: info@alovehair.com
Website: https://www.alovehair.com/
Transform your hair game with professional-quality extensions – let’s create beauty together!
906.webp)